Real repair · Washer Repair
Kenmore Washer Door Boot Replacement: What the Repair Involves
A real Kenmore front-load washer job showing the old door boot, the replacement seal, and the retaining clamp that secures it.
Published · Lakeside Appliance Repair LLC
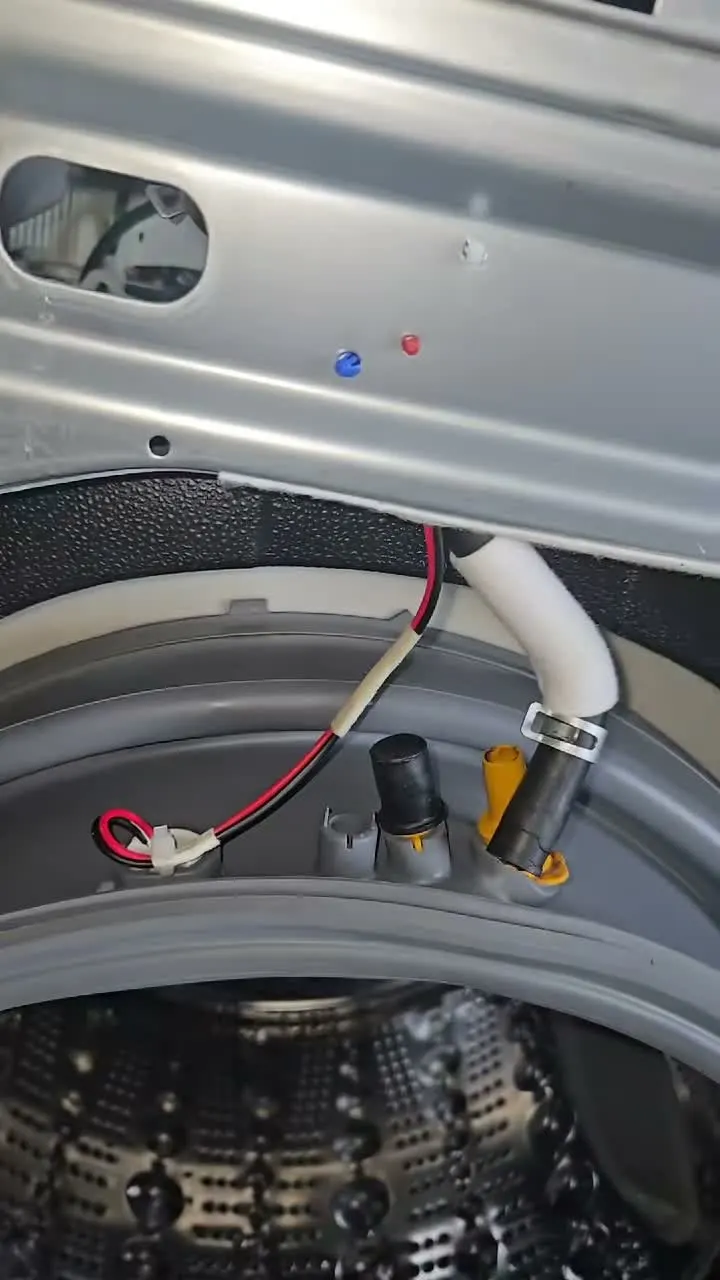
This guide is based on an actual service call documented by Lakeside Appliance Repair. It explains what the footage shows, what the symptom can mean, and which checks are safe before arranging washer repair.
What is a washer door boot?
The door boot is the flexible rubber seal between a front-load washer's tub and front panel. It keeps water inside while allowing the drum to move during a cycle.
A torn, distorted, or poorly seated boot can leak at the front of the machine. Buildup around the folds can also hold moisture and odors, although cleaning will not repair damaged rubber.
Signs the boot should be inspected
- Water appears below or around the washer door
- A visible tear, split, or stretched section of rubber
- The seal has pulled away from the front panel
- Clothing catches between the door and the seal
What this Kenmore repair involved
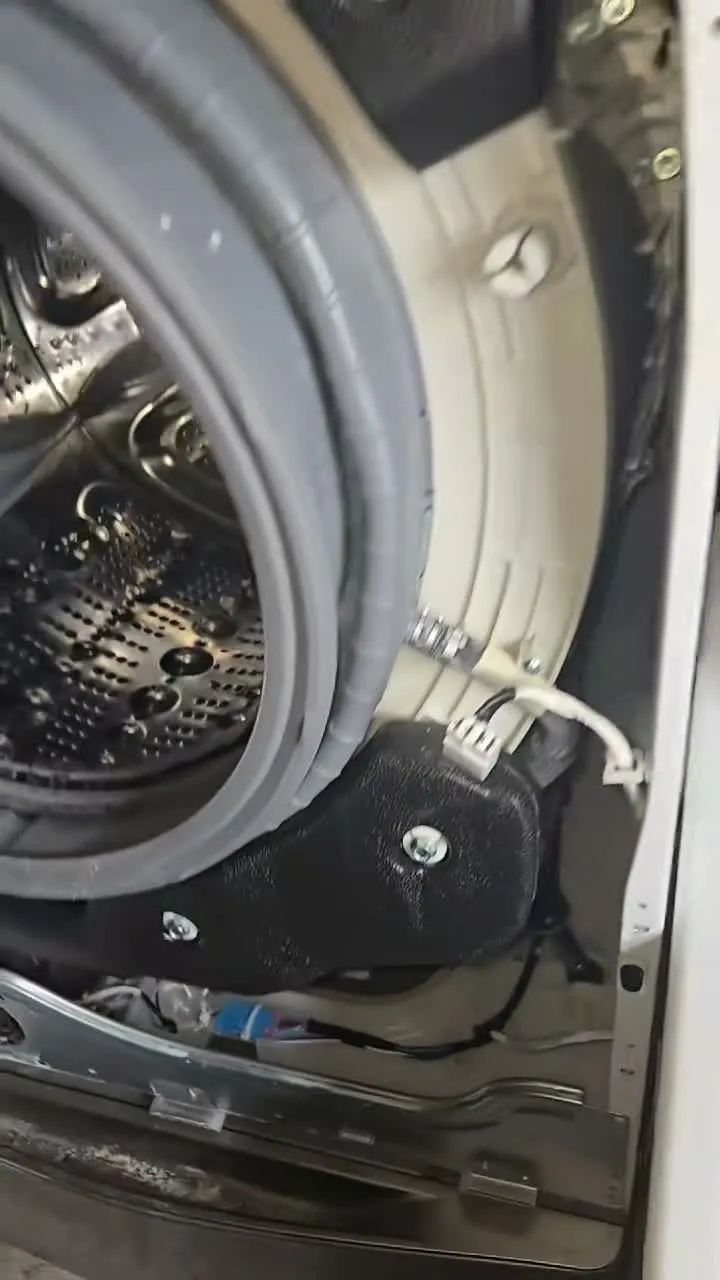
On this job, the damaged boot was removed and a new seal was fitted around the washer opening. The retaining clamp is a critical part of the repair: it must hold the boot evenly without pinching or leaving a path for water to escape.
Door-boot replacement is often more involved than the part's appearance suggests. Access, hose connections, seal orientation, and both retaining points must be correct before the washer is reassembled and checked for leaks.
What you can check first
With the washer off, inspect the exposed folds of the rubber seal for a tear, trapped object, or section that has pulled loose. Remove only loose debris you can reach safely and note where the leak begins during the cycle.
If the boot is torn or its retaining hardware is loose, stop using the washer until it is repaired. Continuing to run it can allow more water into the cabinet or onto the floor.